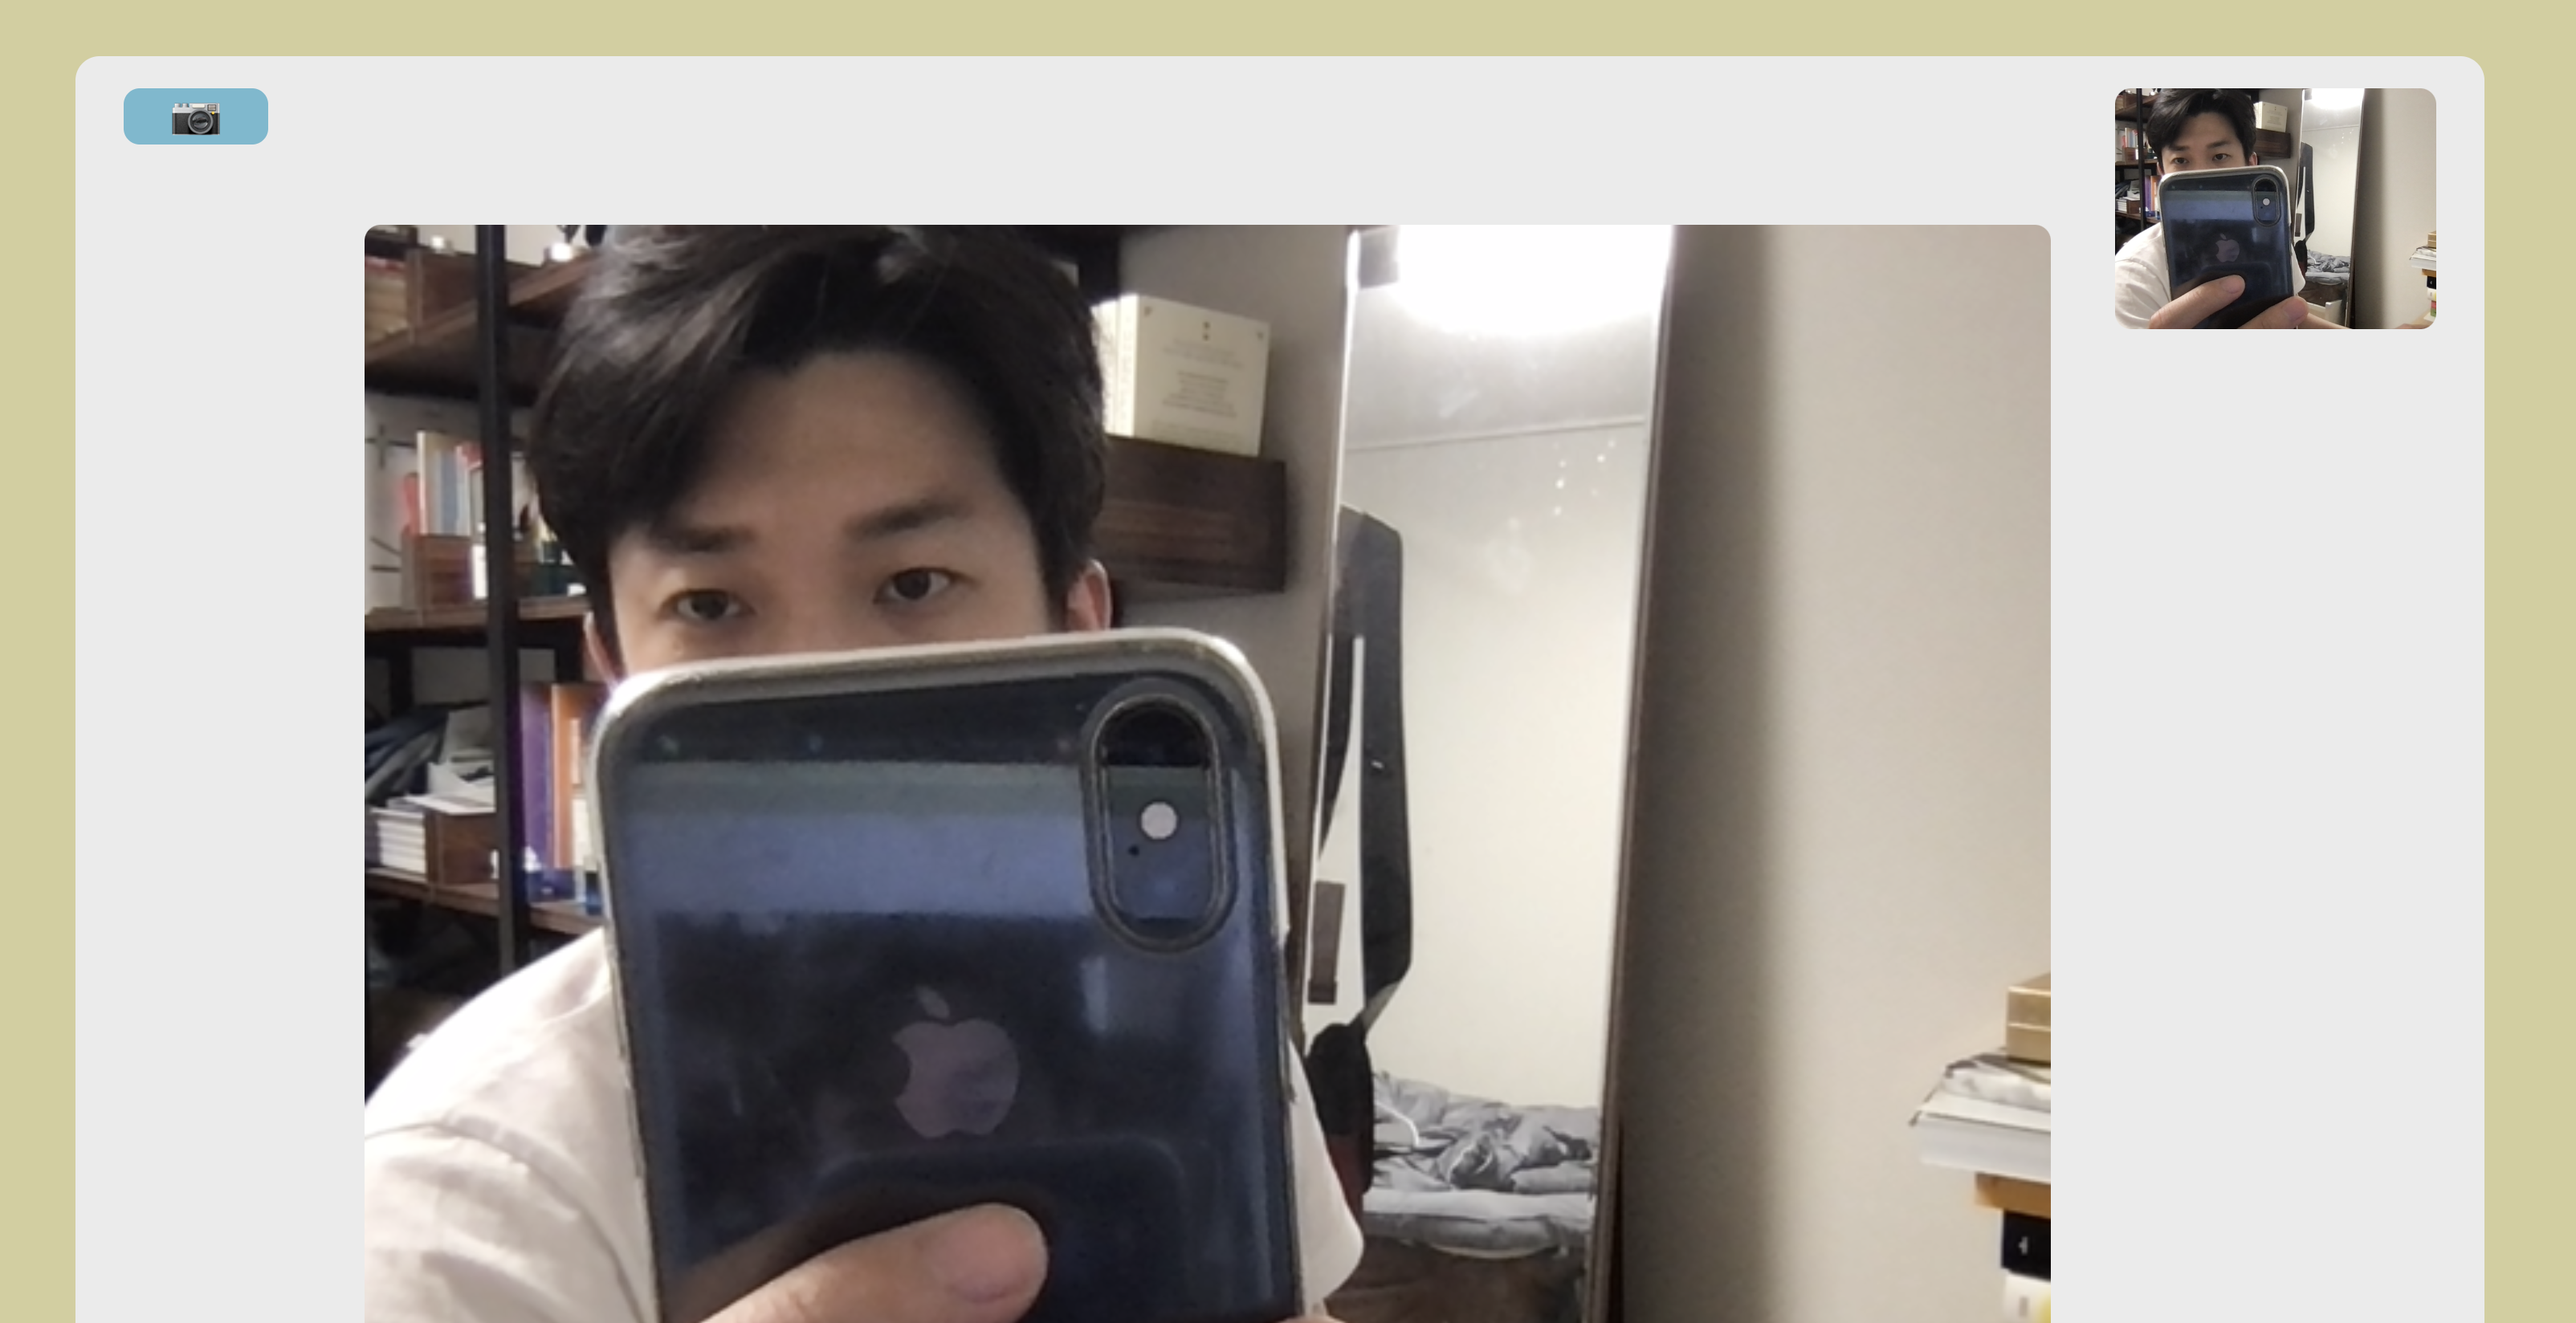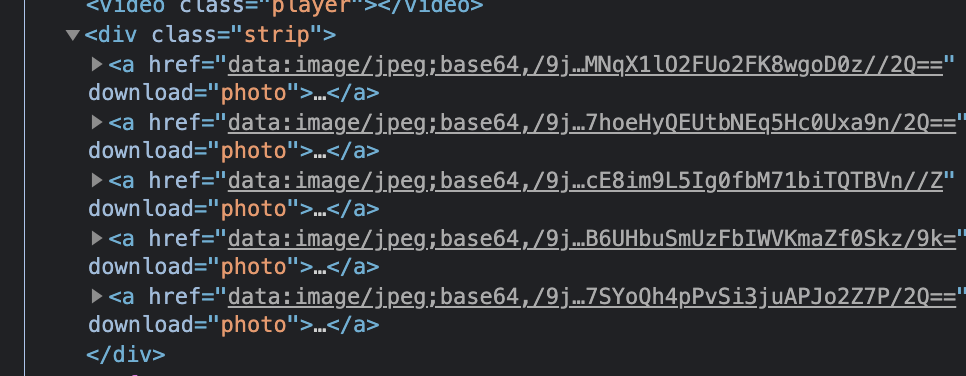
이런 것도 가능하다니…
웹캠을 제어하는 것도 JS와 라이브러리를 통해 구현할 수 있다는게 신기하고 재밌었다.
로직
- 필요한 HTML태그 정리와 선언
- webcam 불러오기
- 캔버스설정과 캔버스에 영상 띄우기
- 사진 찍기 기능!
필요한 HTML 태그
💡 <canvas>, <video>, <audio> 태그들이 필수적으로 필요하다.
<canvas> 와 <audio>는 왜???
⇒ 캔버스는 웹캠 화면에서 다양한 색상 또는 픽셀 등을 다루기 위해서 필요한 것!
⇒ 오디오는 “찰칵소리“의 구현을 위해 필요
1
2
3
4
5
6
|
const video = document.querySelector('.player');
const canvas = document.querySelector('.photo');
const ctx = canvas.getContext('2d');
const strip = document.querySelector('.strip');
const snap = document.querySelector('.snap');
|
웹캠 불러오기
💡 getUserMedia()는 사용자에게 미디어 입력장치 사용 권한을 요청!
⇒{video : true, audio : false} 와 같이 설정해주면 됨
⭐️ 이는 프로미스를 반환한다 ⭐️
1
2
3
4
5
6
7
8
9
| function getvideo() {
navigator.mediaDevices
.getUserMedia({ video: true, audio: false })
.then((MediaStream) => {
console.log(MediaStream);
});
}
getvideo();
|

그럼 이제 촬영되고 있는 화면을 어떻게 브라우저에 띄울 수 있을까?
💡 video 태그에 srcObject값을 부여해주면 된다!
1
2
3
4
5
6
7
8
9
10
11
12
13
14
| function getVideo() {
navigator.mediaDevices
.getUserMedia({ video: true, audio: false })
.then((localMediaStream) => {
video.srcObject = localMediaStream;
video.play();
})
.catch((error) => {
console.error('카메라 로드 실패', error);
});
}
video.addEventListener('canplay', paintToCanvas);
|
캔버스 설정
💡 주의해야 할 점은, 시각효과를 정확하게 적용하기 위해선 캔버스 크기(넓이, 높이)와 비디오 크기가 같아야 한다는 것이다.
1
2
3
4
5
6
7
8
9
10
11
| function paintToCanvas() {
const width = video.videoWidth;
const height = video.videoHeight;
canvas.width = width;
canvas.height = height;
return setInterval(() => {
ctx.drawImage(video, 0, 0, width, height);
}, 16);
}
|
참고로 필자는 웹캠과 캔버스의 좌우반전이 좀 거슬려서 캔버스와 비디오에 각각transform:rotateY(180deg); 값을 부여했다.
사진 찍기 기능!
💡 toDataURL, setAttribute, insertBefore에 대한 이해가 필요하다.
canvas.toDataURL()
💡 캔버스에 그려진 이미지를 base64형태 (이미지가 스트링으로 구성)로 변환해준다.
link.setAttribute()
💡 해당 링크의 (메서드, 형태) 등을 설정할 수 있다.
insertBefore()
💡 다음에 추가될 노드가 자식노드와 같이 아래로 쌓여진다.

1
2
3
4
5
6
7
8
9
10
11
12
| function takePhoto() {
snap.currentTime = 0;
snap.play();
const data = canvas.toDataURL('image/jpeg');
const link = document.createElement('a');
link.href = data;
link.setAttribute('download', 'photo');
link.innerHTML = `<img src="${data}" alt="hoonjoo" />`;
strip.insertBefore(link, strip.firstChild);
}
|
최종 완성 코드
1
2
3
4
5
6
7
8
9
10
11
12
13
14
15
16
17
18
19
20
21
22
23
24
25
26
27
28
29
30
31
32
33
34
35
36
37
38
39
40
41
42
43
| const video = document.querySelector('.player');
const canvas = document.querySelector('.photo');
const ctx = canvas.getContext('2d');
const strip = document.querySelector('.strip');
const snap = document.querySelector('.snap');
function getVideo() {
navigator.mediaDevices
.getUserMedia({ video: true, audio: false })
.then((localMediaStream) => {
video.srcObject = localMediaStream;
video.play();
})
.catch((error) => {
console.error('카메라 로드 실패', error);
});
}
function paintToCanvas() {
const width = video.videoWidth;
const height = video.videoHeight;
canvas.width = width;
canvas.height = height;
return setInterval(() => {
ctx.drawImage(video, 0, 0, width, height);
}, 16);
}
function takePhoto() {
snap.currentTime = 0;
snap.play();
const data = canvas.toDataURL('image/jpeg');
const link = document.createElement('a');
link.href = data;
link.setAttribute('download', 'photo');
link.innerHTML = `<img src="${data}" alt="hoonjoo" />`;
strip.insertBefore(link, strip.firstChild);
}
getVideo();
video.addEventListener('canplay', paintToCanvas);
|


